Homemade Coconut Cream Pie: A Classic Dessert Done Right
Key Takeaways:
- Create a decadent coconut cream pie with a toasted coconut graham cracker crust, silky custard filling, and fluffy whipped topping.
- Master a no-bake custard filling that sets in the fridge, perfect for prepping ahead.
- Customize with alternative toppings like meringue or coconut whipped cream for variety.
- Learn storage and freezing tips to keep your pie fresh for up to three months.
- Enjoy a timeless dessert that’s simple yet impressive, ideal for family gatherings or special occasions.
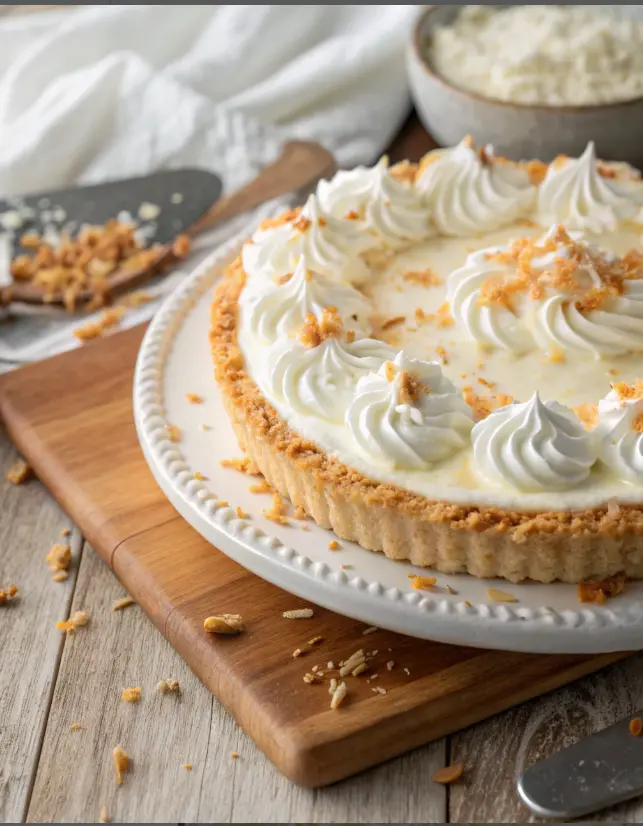
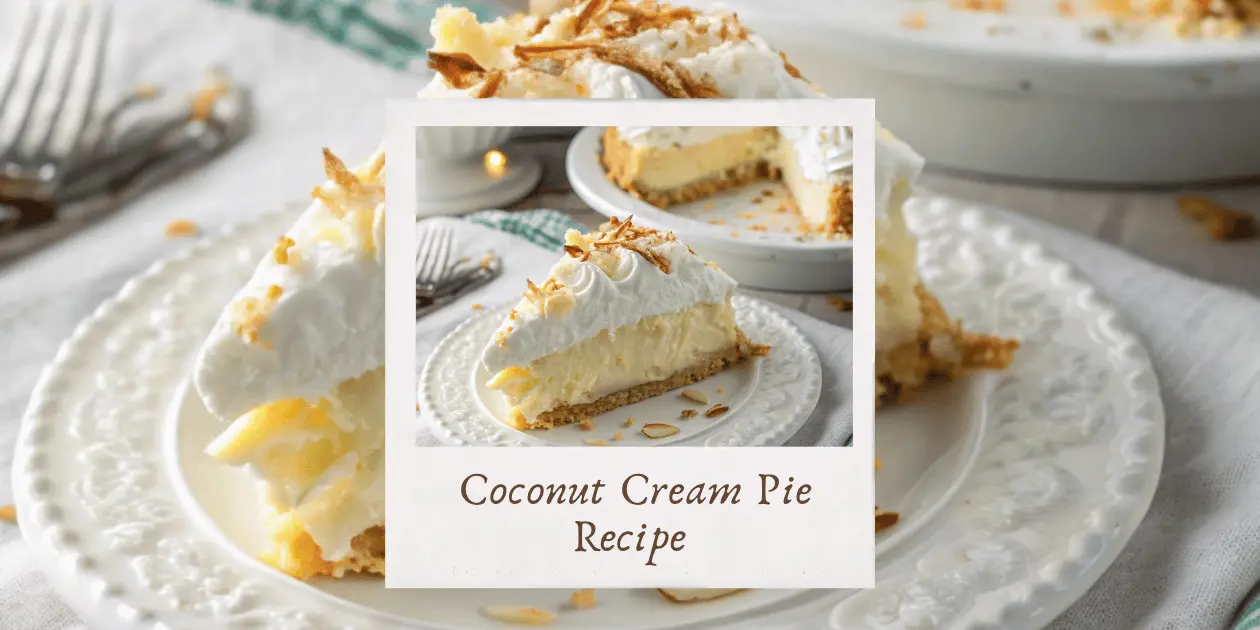
There’s something magical about classic desserts that have stood the test of time, and this Homemade Coconut Cream Pie is no exception. As someone who grew up sneaking bites of my grandma’s desserts at family reunions, I’ve always had a soft spot for recipes that feel like a warm hug from the past. This pie, with its buttery graham cracker crust laced with toasted coconut, creamy coconut custard, and a cloud-like whipped topping, is pure nostalgia on a plate. Whether you’re a coconut fanatic or just craving a dessert that wows, this recipe delivers rich flavor and a touch of elegance without needing fancy equipment. Let’s dive into making this crowd-pleaser that’s sure to become a staple in your kitchen!
Why This Coconut Cream Pie Stands Out
This pie is a love letter to coconut lovers, blending textures and flavors in all the right ways. Here’s why it’s a must-make:
- Irresistible Crust: A graham cracker base with toasted coconut adds crunch and extra coconutty goodness.
- Silky Custard: The stove-top coconut cream filling is smooth, rich, and packed with flavor, no oven required.
- Versatile Topping: A rum-spiked whipped cream (or your choice of topping) elevates every bite.
- Make-Ahead Friendly: Prep it a day or two in advance for stress-free entertaining.
- Timeless Appeal: It’s a classic that feels special, perfect for holidays or cozy family dinners.
I’ve served this at spring brunches and winter gatherings, and it never fails to spark smiles—especially when someone takes that first creamy, coconut-packed bite!

Key Ingredients for Success
To make this pie shine, you’ll need a few standout ingredients (see the full list in the recipe card below):
- Unsweetened Shredded Coconut: Found in the natural foods aisle or online, it’s less sweet than the baking aisle version, letting the coconut flavor shine.
- Graham Crackers: Use 9 full sheets or 5 ounces of pre-made crumbs for a sturdy, buttery crust.
- Coconut Milk: Look for this in the Asian foods section, not cream of coconut, and stir well before using.
- Whole Milk: Essential for a thick, creamy custard—low-fat milk may not set properly.
- Dark Rum (Optional): Adds a subtle kick to the whipped topping but can be skipped for a kid-friendly version.
Pro tip: I once used sweetened coconut by mistake, and the pie was overly sugary. Stick with unsweetened for balance!
How to Make Coconut Cream Pie
This recipe breaks down into three simple parts: the crust, the custard filling, and the whipped topping. Let’s get started.
Ingredients (Makes One 9-Inch Pie)
- 9 full graham cracker sheets (or 5 oz graham cracker crumbs)
- ½ cup unsweetened shredded coconut, toasted
- ⅓ cup sugar (for crust)
- 5 tablespoons unsalted butter, melted
- 1 cup coconut milk, well-stirred
- 1 cup whole milk
- ⅓ cup unsweetened shredded coconut (for filling)
- ⅔ cup sugar (divided, for filling)
- ¼ teaspoon salt
- 4 large egg yolks
- 3 tablespoons unsalted butter (for filling)
- 1 teaspoon vanilla extract
- 1 cup heavy cream (for topping)
- 2 tablespoons sugar (for topping)
- 1 tablespoon dark rum (optional, for topping)
- Extra toasted coconut, for garnish
Equipment Needed
- Food processor
- 9-inch pie plate
- Medium saucepan
- Mixing bowls
- Whisk
- Electric mixer
- Plastic wrap
Step-by-Step Instructions
- Prepare the Crust:
- Preheat oven to 350°F.
- Pulse graham crackers and ½ cup toasted coconut in a food processor until fine crumbs form.
- Mix crumbs with ⅓ cup sugar in a bowl, then stir in melted butter until evenly moist.
- Press mixture firmly into a 9-inch pie plate, covering the bottom and sides.
- Bake for 10-12 minutes until golden. Cool completely on a wire rack.
- Make the Coconut Custard Filling:
- In a medium saucepan, combine coconut milk, whole milk, ⅓ cup shredded coconut, ⅓ cup sugar, and salt. Heat over medium, stirring until sugar dissolves.
- In a bowl, whisk egg yolks with remaining ⅓ cup sugar. Slowly pour ½ cup of the warm milk mixture into the yolks, whisking constantly to temper.
- Return the yolk mixture to the saucepan. Cook over medium heat, stirring constantly, until thickened and large bubbles form (about 5-7 minutes).
- Remove from heat, stir in 3 tablespoons butter and vanilla. Pour into cooled crust.
- Press plastic wrap directly onto the filling’s surface to prevent a skin. Refrigerate for at least 3 hours.
- Whip Up the Topping:
- Using an electric mixer, beat heavy cream and 2 tablespoons sugar to soft peaks.
- Add rum (if using) and ½ teaspoon vanilla, then beat to stiff peaks.
- Spread over chilled filling. Sprinkle with extra toasted coconut.

Topping Variations to Try
Not feeling the rum whipped cream? Mix it up with these options:
- Classic Whipped Cream: Skip the rum for a simple, sweet topping.
- Store-Bought Whipped Topping: Use Cool Whip for a quick shortcut.
- Coconut Whipped Cream: Try So Delicious CocoWhip for an extra coconut boost.
- Meringue Topping: Swap whipped cream for a glossy meringue for a different texture.
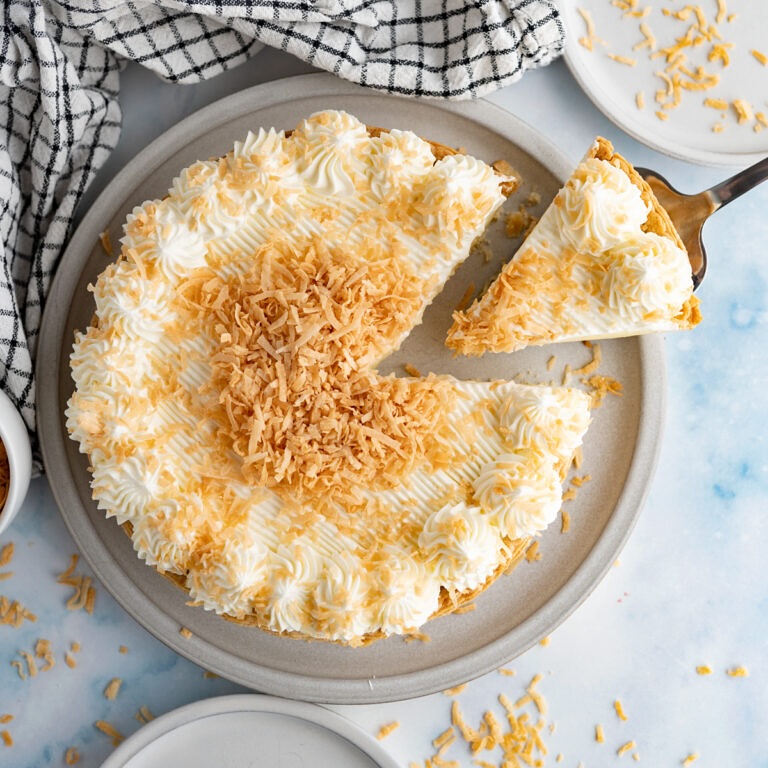
- Coconut Flakes: Toast large coconut flakes for a dramatic, crunchy garnish.
I recommend adding the topping no more than a day before serving to keep it fresh and prevent weeping.
Chocolate Easter Nests: A Fun, No-Bake Spring Dessert
Storage and Freezing Tips
- Refrigerator: Store the pie, covered with plastic wrap, in the fridge for up to 1 day.
- Freezer: After the filling sets in the fridge for 3 hours, wrap the pie tightly in plastic wrap and aluminum foil. Freeze for up to 3 months.
- Thawing: Move to the fridge to thaw overnight, then add whipped topping before serving.
I’ve frozen this pie for a last-minute dessert, and it’s a lifesaver—just don’t skip the double-wrapping to avoid freezer burn!
Serving Suggestions
This pie shines on its own but pairs beautifully with:
- A scoop of vanilla ice cream for extra indulgence.
- Fresh berries or a tropical fruit salad for a bright contrast.
- Coffee or chai tea to balance the sweetness.
- Serve at Easter, Thanksgiving, or any gathering where you want to impress without stress.
Nutritional Info (Per Slice, Approximate)
- Calories: 450 kcal
- Carbohydrates: 40g
- Protein: 6g
- Fat: 30g (18g saturated)
- Sugar: 28g
- Sodium: 200mg
Note: Values are estimates and vary based on ingredients.
A Slice of Comfort and Joy
Baking this coconut cream pie feels like channeling my grandma’s kitchen, where every dessert told a story of love and tradition. There’s something deeply satisfying about crafting a classic from scratch—stirring the custard until it’s just right, pressing the crust into the pan, and watching eyes light up as you serve it. This pie isn’t just a dessert; it’s a moment to slow down, savor, and share with those you care about. So grab your ingredients, channel your inner baker, and treat your loved ones to a slice of coconut heaven. You’ll be amazed at how a simple pie can create such lasting memories!
Follow us on Pinterest for more delightful Easter recipes and creative dessert ideas to make your celebrations extra sweet! 📌

